
Have you ever set a straightedge across your bare subfloor and watched daylight pool under the middle of it? That gap is the difference between a floor that feels solid for decades and one that creaks, telegraphs seams, or voids a manufacturer warranty. Before any plank, tile, or sheet goes down, the surface beneath it has to be flat and stable. Understanding how to assess and correct subfloor leveling puts you in control of the outcome.
Why a Flat Base Determines Everything Above It
Every flooring material has a tolerance for how uneven the surface below it can be, and most are stricter than homeowners expect. Rigid products like tile and engineered plank fail first, cracking along grout lines or flexing at the clicks until joints separate. Even forgiving materials like carpet and vinyl eventually show dips as traffic patterns wear them.
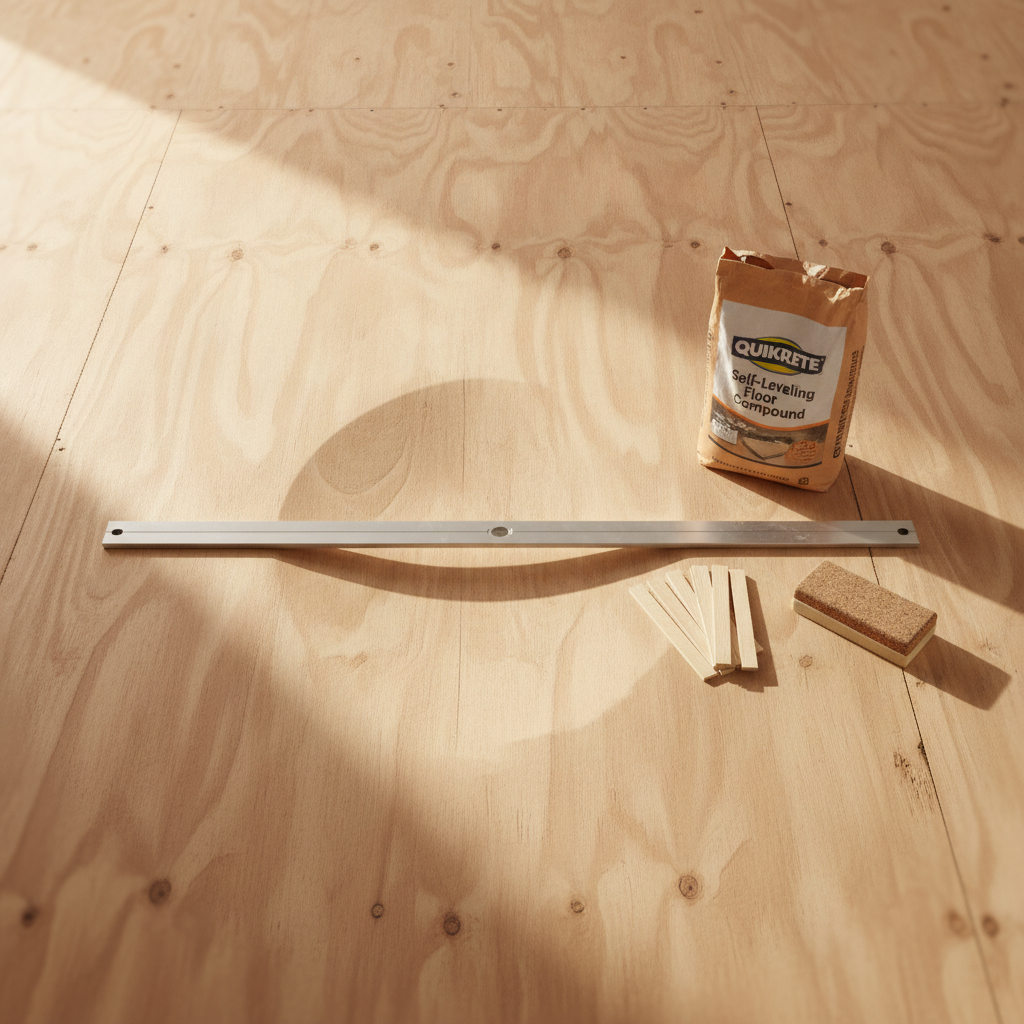
The cost of skipping this step is rarely visible on day one. It shows up months later as hollow spots, popped seams, or squeaks that no amount of refastening will quiet. Fixing an uneven floor before installation is almost always cheaper than tearing out finished flooring to reach the problem underneath.
Diagnosing Dips and High Spots Accurately
You cannot correct what you have not measured, and eyeballing a floor is unreliable. The standard approach is to drag a long straightedge or level across the room in overlapping passes, marking where gaps appear beneath it and where it rocks over a peak. Most flooring makers specify a tolerance such as 3/16 inch over a 10-foot span, so measure against the number your product actually requires.
Mark high spots and low spots directly on the subfloor with a pencil, noting the depth of each dip. This map tells you whether you are dealing with a few isolated flaws or a broadly sloped surface, which in turn decides your method and budget.
Tools That Make Measurement Reliable
- A 6-foot or longer aluminum straightedge for spanning gaps consistently
- A 4-foot spirit level to check both flatness and slope
- Feeler gauges or a tape measure to record the exact depth of each low spot
- A chalk line to outline larger depressed areas before you fill them
Using Shims to Correct Localized Low Spots
When a subfloor is structurally sound but dips in a few places, shims are the most targeted fix. Thin tapered wood shims or plywood strips are fastened into the hollows to bring them up to the surrounding plane, which works especially well over joists where a single bay has settled. This method keeps costs low because you buy only what the affected area needs.
Shimming demands patience. You check your work with the straightedge after each adjustment, since overshooting creates a new high spot that is harder to remove. For plank flooring over a wood subfloor, shimming the sleepers or adding tapered underlayment often resolves the problem without introducing any wet materials.
Sanding Down High Spots on Wood Subfloors
High spots are the opposite problem, and on a wood subfloor they are usually the easier one to solve. Swollen plywood seams, proud fastener heads, or a ridge where two panels meet can all be ground flush with a belt sander or a dedicated floor sander. Reducing a peak is often faster and less expensive than filling the entire area around it.
Before sanding, set any raised nails or screws below the surface so you do not tear the abrasive or gouge the wood. Work gradually and recheck with your level, because removing too much material thins the panel and can weaken it. Sanding pairs naturally with shimming, letting you knock down the peaks and raise the valleys until the whole plane reads flat.
Pouring Self-Leveling Compound Over Larger Areas
When the unevenness is widespread, scattered across many low spots, or sitting on concrete, self-leveling compound becomes the practical choice. This cement-based product is mixed to a pourable consistency and flows across the floor to find its own level, filling depressions and bridging minor irregularities in one pass. It is the standard answer for concrete slabs that have cured out of plane.
The tradeoff is preparation and timing. The surface must be clean, and most compounds require a primer so the pour bonds instead of peeling later. Once you mix a batch, you have only minutes of working time, so larger rooms demand a helper and a game plan. Material costs rise with the depth you need to fill, which is why diagnosing the actual low points first keeps the project affordable.
Steps That Keep a Pour From Failing
- Seal gaps, seams, and penetrations so the liquid compound cannot drain away
- Apply the manufacturer's primer and let it reach the specified tack before pouring
- Mix only what you can spread within the working window, usually under ten minutes
- Spread with a gauge rake and release trapped air with a spiked roller
- Protect the room from drafts and foot traffic until the compound fully cures
Matching the Method to Your Subfloor and Flooring
The right technique depends as much on what sits below as what goes on top. A plywood subfloor over a crawlspace responds well to shims and sanding because you are working with fasteners and fibers you can adjust directly. A concrete slab, by contrast, almost always points toward a leveling compound, since you cannot shim or sand poured concrete into plane.
Your finished flooring narrows the choice further. Thick solid hardwood tolerates slightly more variation than large-format tile, which cracks over the smallest void. Weighing the subfloor type against the product's tolerance tells you whether a modest shim-and-sand afternoon will do or whether a full pour is worth the added material and dry time.
Weighing Cost, Time, and Long-Term Value
Each method carries a different price and schedule, and the cheapest option up front is not always the one that protects your investment. Shims and sanding are inexpensive and often finish in a day, but they only make sense when the problem is localized. A self-leveling pour costs more in materials and demands cure time, yet it delivers a uniformly flat base that pays off under rigid or premium flooring.
Think in terms of the flooring you are protecting. Spending a modest sum to prep correctly preserves a far larger investment in the surface above, and it spares you the expense of a second installation when a shortcut fails. The method that fits your subfloor, your flooring, and your timeline is the one worth choosing.
Preparing to Lay the New Floor With Confidence
Once your straightedge glides across the room without rocking or revealing gaps, the hardest and most consequential part of flooring prep is behind you. A flat, dry, debris-free surface lets the installation go quickly and gives the finished floor the stable foundation it needs to perform as intended. The groundwork you lay now shapes how the floor looks and feels for years.
Take a final set of measurements across the whole room, confirm the surface meets the tolerance your flooring specifies, and clear away any dust from sanding or ridges from the pour. With an even floor beneath you, every decision about the material above it rests on solid ground.