
Have you been living with a light switch that only offers two settings, bright or off, when a softer glow would suit the room better? Swapping a standard toggle for a dimmer is one of the more approachable upgrades in home electrical work, and it gives you real control over lighting and energy use. With the right preparation and respect for the circuit, this is a project many homeowners handle in an afternoon.
Why Install a Dimmer in the First Place
A dimmer does more than set a mood. By reducing the voltage reaching a bulb, it lowers energy consumption and can extend the life of compatible lamps. In a dining room or bedroom, that flexibility changes how the space feels at different times of day.
There is also a practical cost angle. Dimmable LED bulbs paired with a quality dimmer draw less power when run below full brightness, and the switch itself is an inexpensive part relative to the comfort it adds. For many readers, the appeal is control that a standard switch simply cannot deliver.
Confirming Your Setup Is Compatible
Before buying anything, it helps to understand what you are working with. Not every bulb dims well, and not every switch arrangement accepts a basic dimmer. A single-pole switch controls a light from one location, while a three-way switch controls the same fixture from two places and requires a dimmer rated for that purpose.
The bulbs matter just as much. Older incandescent bulbs dim readily, but many LED and compact fluorescent bulbs need to be labeled dimmable to work without flicker or buzzing. Checking the packaging on both the dimmer and your bulbs saves a frustrating return trip.
Details Worth Verifying Before You Buy
- Whether the existing switch is single-pole or three-way
- The wattage load of all fixtures on the circuit
- Whether your bulbs are rated as dimmable
- The presence of a neutral wire if you want a smart dimmer
- The depth of the existing electrical box
Gathering the Right Tools and Parts
Good preparation keeps a simple job from stalling halfway through. Most of the equipment needed is already in a basic household toolkit, and the specialized items are inexpensive. Having everything within reach before you cut power means you are not wandering the house with a project left exposed.
A non-contact voltage tester is the one tool worth buying if you do not own it. It confirms whether wires are live without any physical contact, and it is the backbone of working safely around residential circuits.
Items to Have on Hand
- A dimmer switch rated for your load and switch type
- A non-contact voltage tester
- A flathead and a Phillips screwdriver
- Wire strippers and a pair of needle-nose pliers
- Wire connectors, often included with the dimmer
- Electrical tape and a flashlight
Shutting Off Power the Right Way
This is the step that protects you, and it deserves more care than a quick flip of the switch. Turning off the wall switch alone does not make the wiring safe, because the circuit behind it can still carry current. The only reliable approach is to cut power at the service panel.
Find the breaker that feeds the room, switch it off, and then confirm the light no longer responds. Return to the switch, remove the cover plate, and hold your voltage tester near the wires. Treating every wire as live until proven otherwise is a habit worth keeping for the life of your home.
Identifying and Labeling the Wires
Once power is confirmed off, the wiring usually reveals itself quickly. A standard single-pole switch connects to two wires carrying current, plus a ground wire that is typically bare copper or green. Snapping a photo with your phone before you disconnect anything gives you a reference if the layout gets confusing.
Three-way setups add a traveler wire and look busier, which is why matching your dimmer to the switch type matters so much. Labeling each wire with a small piece of tape as you remove it from the old switch keeps the reconnection straightforward and reduces guesswork.
Wires You Are Likely to Encounter
- Line and load wires, often black, carrying current to and from the fixture
- A ground wire, usually bare copper or green
- A traveler wire, present only in three-way circuits
- A neutral wire, white, sometimes required for smart dimmers
Connecting the Dimmer Switch
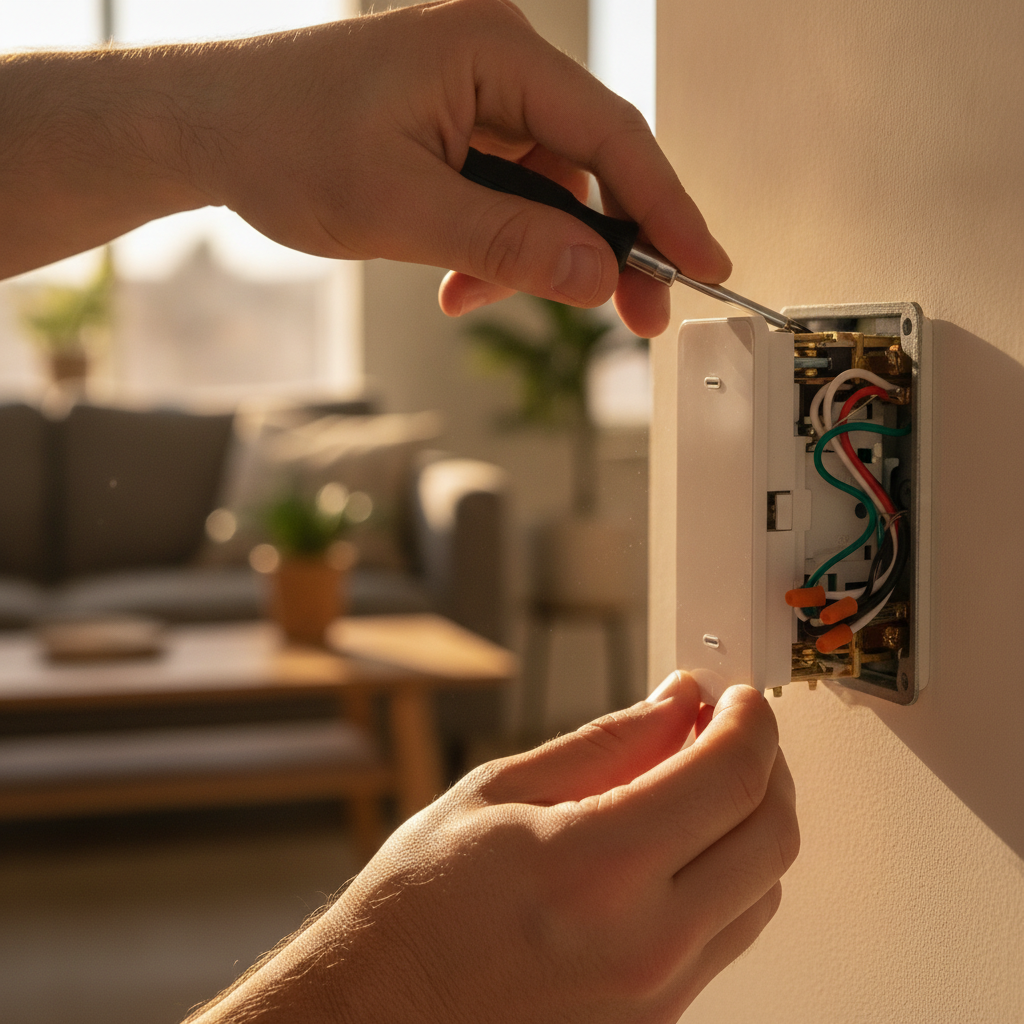
With the old switch out, the new dimmer goes in using the same connections you labeled. Most dimmers use short pre-attached wire leads rather than screw terminals, so you join each lead to the matching house wire with a connector. This is the heart of the light switch replacement, and patience here pays off.
Twist the matching wires together firmly, cap them with a connector, and give a gentle tug to confirm the joint holds. Fold the wires neatly into the box and seat the dimmer against the wall before fastening it. Crowded or loose connections are the most common cause of problems in DIY wiring, so take the extra moment to make each one clean.
Testing and Finishing the Installation
Before you button everything up, it is worth a controlled first test. Restore power at the breaker, then operate the dimmer across its full range. The light should brighten and dim smoothly without flickering, humming, or any warmth at the switch plate.
If the light flickers, the usual culprit is a bulb that is not truly dimmable or a mismatch between the dimmer and the load. If something smells warm or the dimmer buzzes loudly, cut power and recheck your connections. When the test goes well, shut the power off once more to attach the cover plate, then restore it for everyday use.
Signs the Job Went Well
- Smooth, consistent dimming across the full range
- No audible buzzing from the switch or fixture
- A cover plate that sits flush against the wall
- A switch that stays cool to the touch during use
Knowing When to Call an Electrician
Most dimmer swaps are well within reach for a careful homeowner, but some situations call for a professional. If you open the box and find aluminum wiring, scorched insulation, or a tangle of wires you cannot identify, that is a reasonable point to stop. The cost of an hour of licensed labor is small compared to the risk of a circuit done wrong.
Older homes without a ground wire, or boxes too shallow to hold a modern dimmer, also tend to need an upgrade rather than a straight replacement. Weighing your comfort level against the condition of the wiring is a fair part of deciding how far to take the project yourself.
Living With Your New Dimmer
A well-installed dimmer quietly earns its place over the years, giving you flexible lighting and a measure of energy savings whenever you run bulbs below full brightness. Pairing it with quality dimmable LEDs tends to produce the smoothest results and the longest bulb life. Once the switch is in and tested, the room responds to how you actually want to use it.