
Have you ever stared at a cable looping across your living room floor and wondered whether it could disappear behind the wall instead? Running coaxial cable or Ethernet wiring through walls is one of the more achievable home projects, and it can transform how a room looks and functions. With a few tools and a methodical approach, you can route a clean, hidden line without hiring a professional for every connection.
Why In-Wall Cable Runs Are Worth the Effort
A visible cable snaking across the floor is more than an eyesore. It is a tripping hazard, it collects dust, and it tends to get pinched by furniture over time. Routing the line inside the wall protects it and keeps your space looking finished.
There is also a practical payoff. A hardwired Ethernet connection delivers steadier speeds than many wireless setups, which matters for streaming, gaming, or working from home. A properly concealed coaxial cable keeps your signal clean while removing the clutter that drags down a room's appearance.
The investment is modest. Most of what you need costs less than a single service call, and the skills carry over to future projects like mounting a television or adding a second drop in another room.
Understanding Your Walls Before You Cut
Before any drill touches drywall, you need a clear picture of what lives inside the cavity. Interior walls commonly hide electrical wiring, plumbing lines, and horizontal fire blocks that can stop a cable mid-run. Cutting blindly risks an expensive repair or a dangerous contact with live power.
Spend time mapping the wall. A stud finder locates framing and, in many models, flags live electrical lines. Knowing where studs sit tells you where your cable can travel freely and where it will meet resistance.
Pay attention to the age of your home as well. Older construction sometimes includes extra blocking or unexpected framing that makes a straight vertical drop difficult, which may change where you place your entry and exit holes.
Gathering the Right Tools and Materials
Cable fishing goes smoothly or poorly depending almost entirely on preparation. The job itself is simple once you have the right equipment staged and within reach. Trying to improvise with a coat hanger or a piece of string usually ends in frustration and a longer afternoon than planned.
Quality matters more for the cable than for the tools. Buying slightly more cable than you measure gives you slack to work with, and a short run of leftover coax or Ethernet is far cheaper than running the entire length again because you came up a foot short.
Equipment That Makes Fishing Easier
- A fish tape or flexible glow rod for guiding cable through the cavity
- A stud finder, ideally one that detects electrical wiring
- A drywall saw and a drill with a long flexible auger bit
- Low-voltage mounting brackets and wall plates for a finished look
- Electrical tape and a pull string to attach the cable to your fish tape
Planning the Cable Path
The shortest route is not always the smartest one. A clean installation starts with choosing entry and exit points that avoid studs, outlets, and plumbing while still landing where your equipment sits. Mark both locations with a pencil and confirm them before you commit to any holes.
Vertical runs inside a single stud bay are the easiest, since gravity helps and there is little obstruction. Horizontal runs across multiple studs are harder because each stud must be drilled or bypassed. If your path crosses several bays, consider whether an attic or basement route would be simpler than fighting through the framing.
Think about the long term too. Pulling an extra Ethernet line or a pull string alongside your current cable costs almost nothing now and saves a full repeat of the project if you upgrade later.
Fishing the Cable Through the Wall
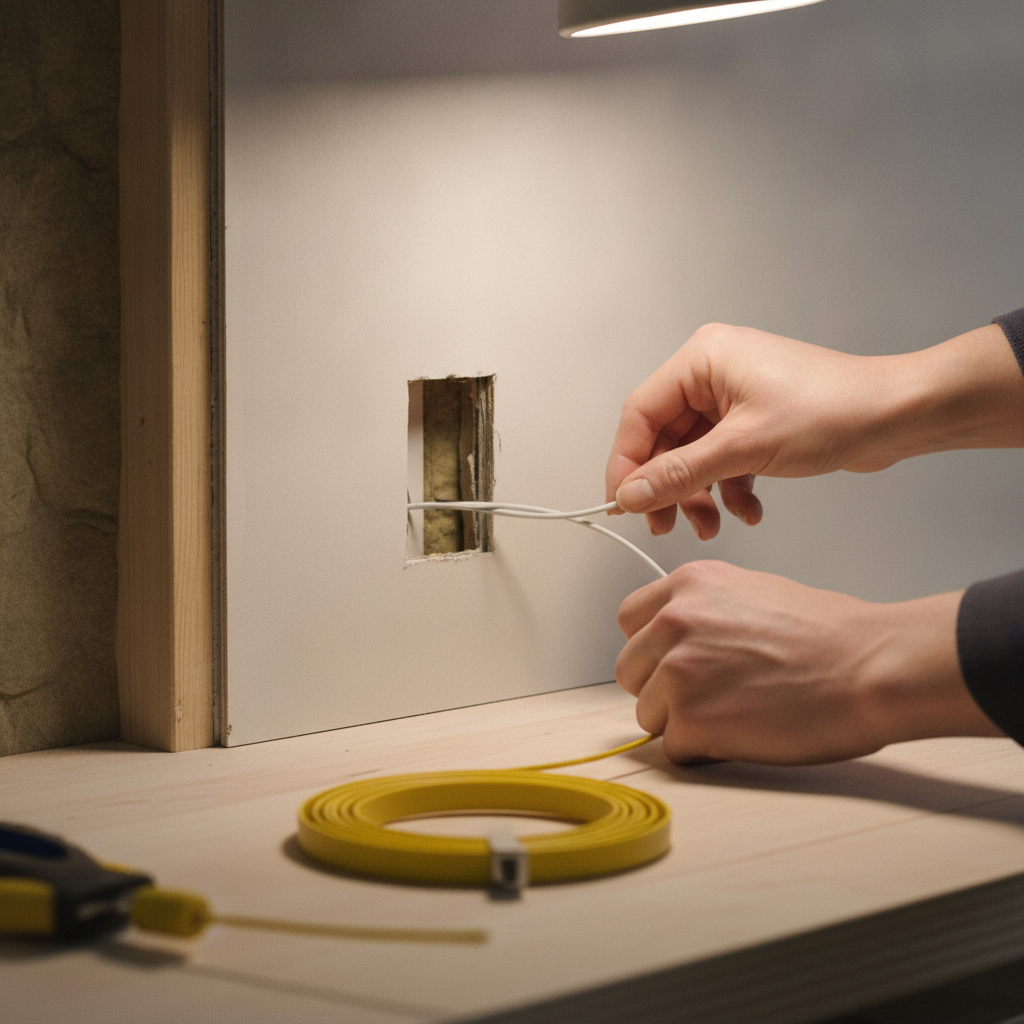
This is the step that feels intimidating but rewards patience. After cutting your openings, you feed the fish tape from one hole toward the other and maneuver it until it reaches the target opening. Short, controlled motions work better than aggressive pushing, which tends to snag on insulation or framing.
Once the fish tape appears, secure your cable to it with electrical tape, keeping the connection slim so it slides through gaps. Then draw the tape back slowly while a second person guides the cable at the entry point. A pull string left in place makes the next cable run far easier.
If the cable stops partway, resist the urge to force it. Back off, reposition, and try a slightly different angle, since most snags come from a fire block or a bundle of existing wiring you can simply work around.
Finishing the Connections Cleanly
A hidden cable only looks professional if the ends are finished properly. Low-voltage brackets mount into the drywall without needing a full electrical box, and wall plates give you a crisp termination point for both coaxial and Ethernet jacks. This is where a rushed project either reads as polished or obviously amateur.
Terminating Ethernet requires attention to the wiring order inside the jack, and following the color pattern printed on the keystone prevents a connection that looks fine but never carries a signal. Coaxial ends need a compression connector seated tightly to maintain a clean signal.
Leave a small service loop of extra cable behind the wall plate. That slack gives you room to re-terminate a connector later without opening the wall again, which protects the value of the work you just did.
Avoiding Common Mistakes and Damage
Most problems during wall wiring come from skipping the planning stage. Drilling into a stud you did not know was there, nicking an electrical line, or cutting an exit hole in the wrong spot all turn a two-hour job into a weekend repair. Slowing down early prevents nearly all of it.
Signal quality deserves equal caution. Running an Ethernet or coaxial cable parallel and close to electrical wiring can introduce interference, so cross power lines at an angle rather than following them. Avoid kinking the cable or bending it sharply, since tight bends degrade performance over time.
Keep your patches small. If you must open the wall to reach a difficult spot, a neat cut-out is far easier to patch than a jagged hole, and the repair stays nearly invisible once painted.
Deciding Between a DIY Run and a Pro Install
Not every situation calls for doing it yourself, and recognizing the line is part of being a capable homeowner. A single vertical drop in an interior wall is well within reach for most people with basic tools. A multi-room run through finished walls, brick, or a two-story path is a different scale of work.
Weigh your time against the cost. A professional run spares you the labor and guarantees the result, while a careful DIY approach saves money and leaves you with reusable tools and transferable skills. Many people split the difference, handling the straightforward rooms themselves and calling in help for the complex paths.
Whatever route you choose, a hidden, well-terminated cable is a lasting improvement that quietly supports every device you connect for years to come.
Bringing the Project Full Circle
Running coaxial and Ethernet cable through walls combines a handful of simple skills into one satisfying result. The planning protects your home, the fishing step rewards patience, and the finishing work determines whether the run looks intentional or improvised. Each stage builds on the one before it.
With your tools gathered, your path mapped, and your connections properly terminated, you have a clean installation that serves both the look of your space and the reliability of your connection. The cable disappears into the wall, and the room is left exactly as it should be.