
Have you been eyeing that open, airy look where the vanity seems to hover just above the floor? A floating vanity delivers a clean, contemporary profile and makes a small bathroom feel larger by exposing more of the floor. Installing one yourself is realistic for a confident homeowner, though it demands careful measurement and solid wall support. The project touches framing, plumbing, and finish work in equal measure.
Why a Floating Vanity Changes the Room
A wall-mounted cabinet does more than look modern. By lifting the storage off the floor, you reclaim visual space and make cleaning underneath effortless, which matters in a room where dust and moisture collect in corners. The exposed floor also lets tile patterns run uninterrupted, a detail that reads as intentional and finished.
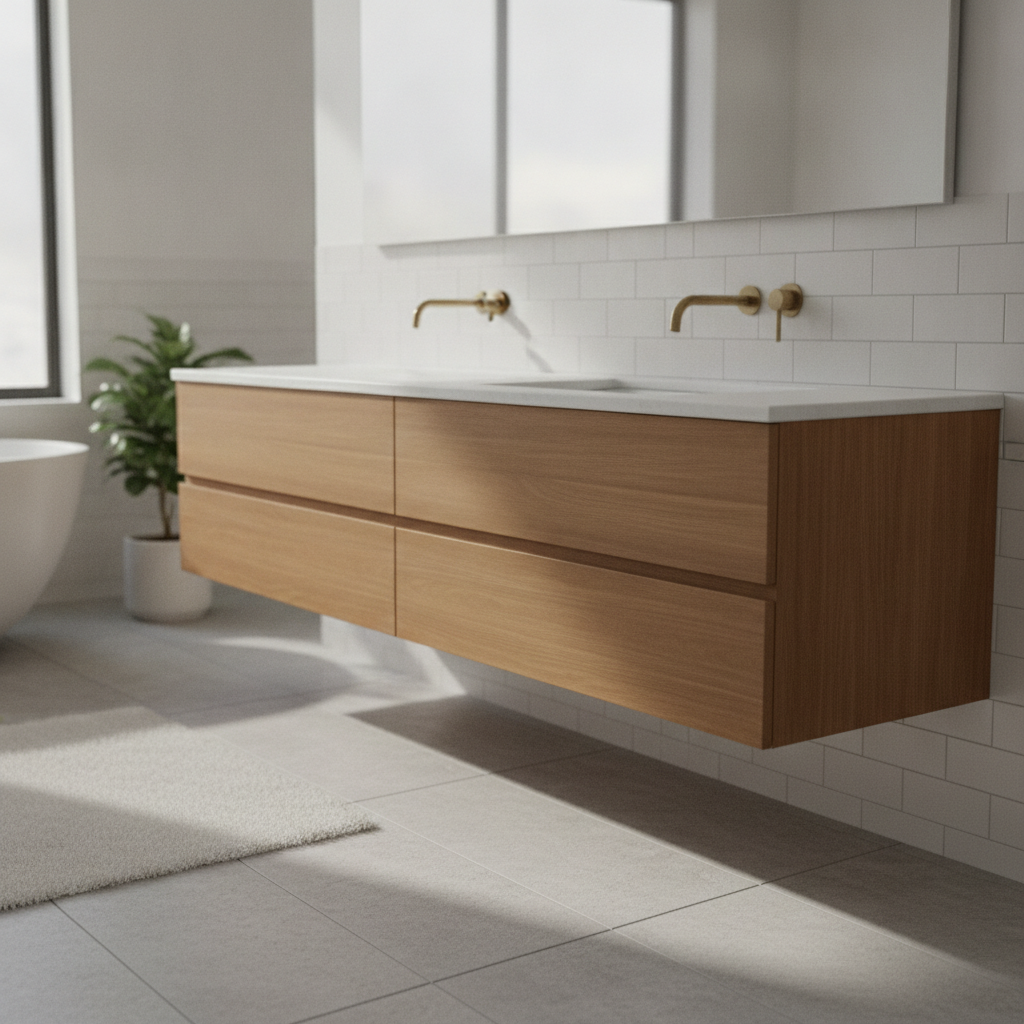
There is a practical tradeoff worth weighing before you commit. Because the cabinet hangs entirely from the wall, the structure behind the drywall carries all the weight. That requirement shapes nearly every decision in the installation, from mounting height to the hardware you buy.
Measuring and Planning Before You Buy
Accurate measurement is the difference between a crisp install and a frustrating one. Start with the rough plumbing location, since the drain and supply lines must align with the openings in your chosen vanity. A floating unit often conceals the P-trap and valves inside the cabinet body, so the stub-out height becomes critical rather than approximate.
Decide on mounting height early. Most people set the countertop between 32 and 36 inches from the floor, slightly higher than a traditional vanity because nothing anchors the base. Mark that line, then confirm the plumbing falls within the cabinet's internal clearance before ordering anything.
Dimensions to Record Before Ordering
- Wall width available between adjacent fixtures or walls
- Height of the existing drain stub-out from the finished floor
- Height and spacing of hot and cold supply lines
- Projection depth the cabinet will extend into the room
- Door swing or drawer clearance against nearby walls
Locating Studs and Reinforcing the Wall
This is the step that determines whether your vanity stays put for decades. A loaded floating vanity with stone top, basin, and water can exceed 150 pounds, and that force pulls down and outward on the mounting points. Drywall anchors alone will not hold it, no matter what the packaging claims.
Use a stud finder to locate framing, then plan to drive your mounting hardware into at least two studs. If the studs do not line up with the cabinet's mounting rail, the reliable fix is to open the wall and install solid blocking, a horizontal 2x8 fastened between the studs. This gives you continuous backing to anchor into anywhere along the length.
Mounting the Vanity Securely
With your layout line marked and backing in place, mounting becomes methodical. Many floating vanities use a French cleat system, where a beveled rail screws to the wall and the cabinet drops onto it. Others rely on a steel bracket or through-bolts. Whichever your model uses, the hardware rated for the load is non-negotiable.
Set the cleat or bracket to your level line, drive lag screws into the studs or blocking, and verify level a second time before hanging the cabinet. A long level matters here because even a slight tilt becomes obvious once the countertop and basin go on. Have a helper support the cabinet while you confirm the fit.
Hardware Worth Choosing Carefully
- Lag screws sized to penetrate studs by at least an inch and a half
- A heavy-duty mounting cleat or bracket rated above your loaded weight
- Washers to distribute pressure and prevent pull-through
- A torpedo level and a four-foot level for cross-checking
Adjusting Plumbing to Fit
Plumbing is where a floating vanity differs most from a standard install. Because the cabinet sits off the floor, the drain and supply lines are visible or barely concealed, so neatness counts. In many cases you will need to shorten, extend, or reposition the stub-out to meet the sink's drain at the right height inside the cabinet.
If the existing rough-in sits too low, you may be rerouting pipe within the wall, which pushes the job into intermediate territory. A clean approach uses a flexible supply connector and a compact P-trap positioned to clear the cabinet floor. Shut off the water, test every joint, and run the faucet before you consider this stage done.
Installing the Top, Basin, and Faucet
Once the cabinet hangs level and the plumbing is roughed in, the finish components bring the project together. Set the countertop and check that it sits flush against the wall, scribing or caulking the gap if the wall is uneven. A vessel sink changes the faucet height, so confirm your fixture matches the basin style before drilling.
Connect the faucet supply lines, seat the drain assembly with plumber's putty or the manufacturer's gasket, and tighten by hand plus a careful quarter turn. Overtightening cracks ceramic and stone, a costly mistake at this stage. Wipe away excess sealant immediately so it does not cure on the finished surface.
Sealing, Testing, and Finishing Touches
The last details protect your work from the moisture that defines a bathroom. Run a bead of silicone caulk along the seam where the countertop meets the wall, since that joint is the most common entry point for water damage behind the vanity. Smooth it with a wet finger for a clean line.
Fill the basin, let it drain, and inspect every connection with a dry paper towel to catch slow leaks before they hide. Open and close drawers to confirm nothing binds against the wall or plumbing. Only after a full day of watching for drips should you load the cabinet with everyday items.
What the Project Costs and When to Call a Pro
Budget shapes how far you take a DIY bathroom installation. The vanity itself spans a wide range, with modest units running a few hundred dollars and designer pieces with integrated stone tops climbing well past a thousand. Hardware, a new faucet, and plumbing fittings add a predictable layer on top of the cabinet price.
Your own time and skill are the other variable. If the plumbing rough-in needs relocating inside the wall, or if the framing offers no usable backing, bringing in a plumber or carpenter for that portion can prevent a leak or a sagging cabinet later. A floating vanity rewards patience, and the finished result reflects the care taken at each step of the DIY remodel.